Saturday 24 April 2010

Fishy

The fish body started off as a lofted surface, converted to polygons.


I then split and extruded faces to make the fins, tail and eye socket.


The texture reference is this fish.


I added a sine deformer and a nurbs controller.


I attatched the controls of the sine deformer to new attributes on the controller, making sure to give 'offset' an unlimited maximum value so the fish can keep swimming.


To animate, I attatched the controller to a motion path and set keys for the sine offset at the start and end, careful not to key anything else.


I'm very happy with the result, the fish movement is realistic. The rig makes animating the fish along any path a lot easier.

Rendered fish

Friday 23 April 2010

Rigging- Man

For the man, there were settings to automatically create a bipedal character without the need to add separate parts, it was just a matter of scaling and positioning it to my character.


Finished rig, the only weight painting I had to do for this one was for the bathrobe, to make it move with the legs.


With the face rig widget it was similar, just a matter of positioning curves instead of objects.


The rig worked in all areas apart from the eye, it was just a matter of the weights being where they shouldn't be.


Painting out the weights fixed the problem.


Finished face rig


With the hair I applied a slight jiggle deformer to the ends so that they would shake a little when the man moves his head quickly.


Quick face test

Tuesday 20 April 2010

Rigging- Cat

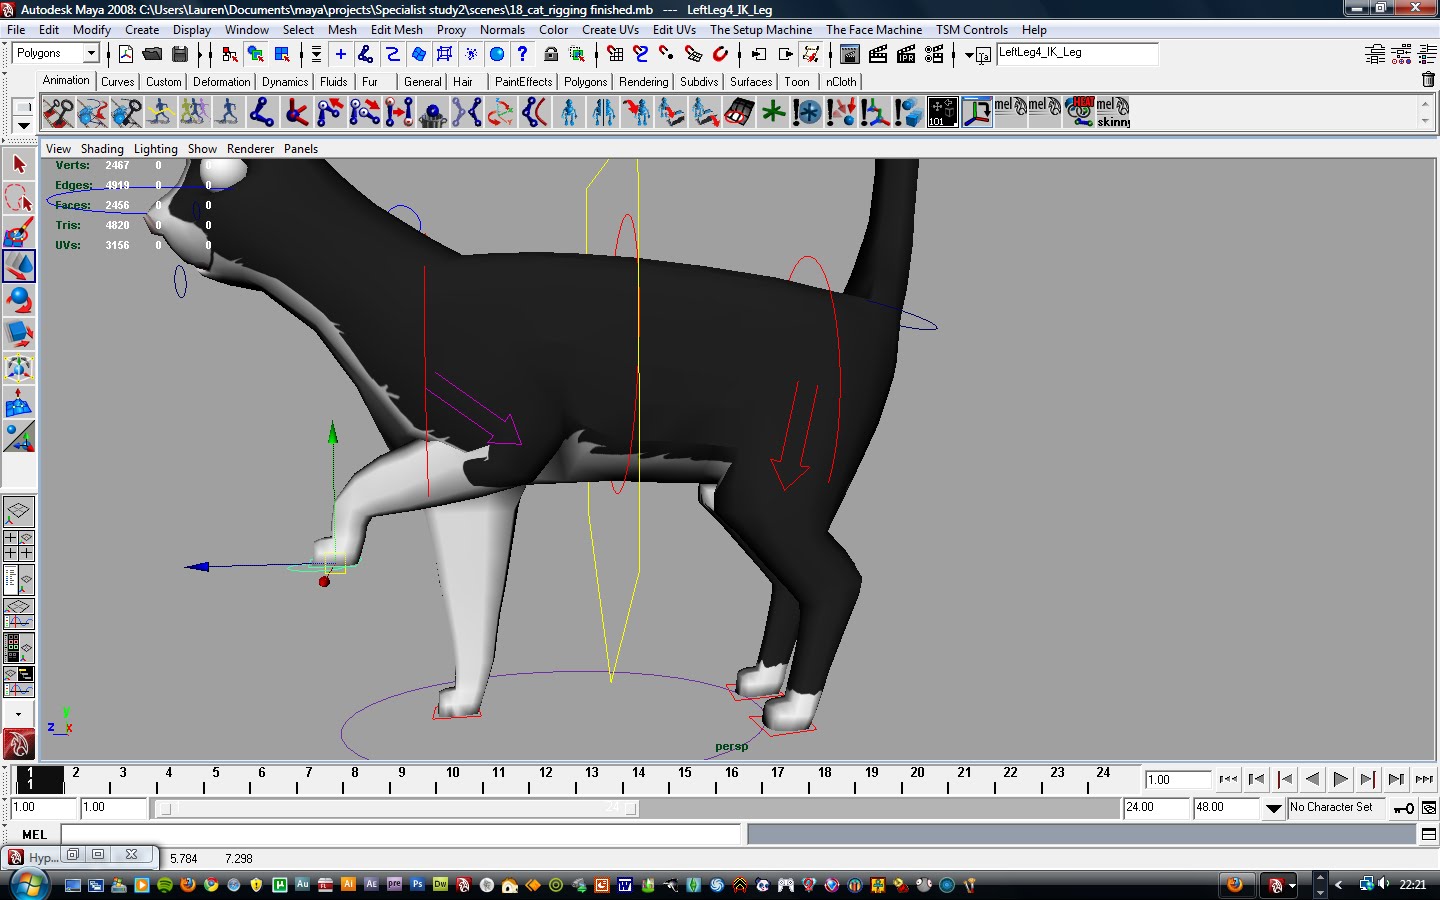
I followed the manual that came with the Setup machine to rig the cat. Each body section (colour coded) was added one by one, the front legs as one and the back legs as another. When first added, the proportions, rotations and shapes were set to match a humanoid character but it didn't take long to match them to my cat character.


Once the parts are set up to match your character you can rig it in a couple of clicks.


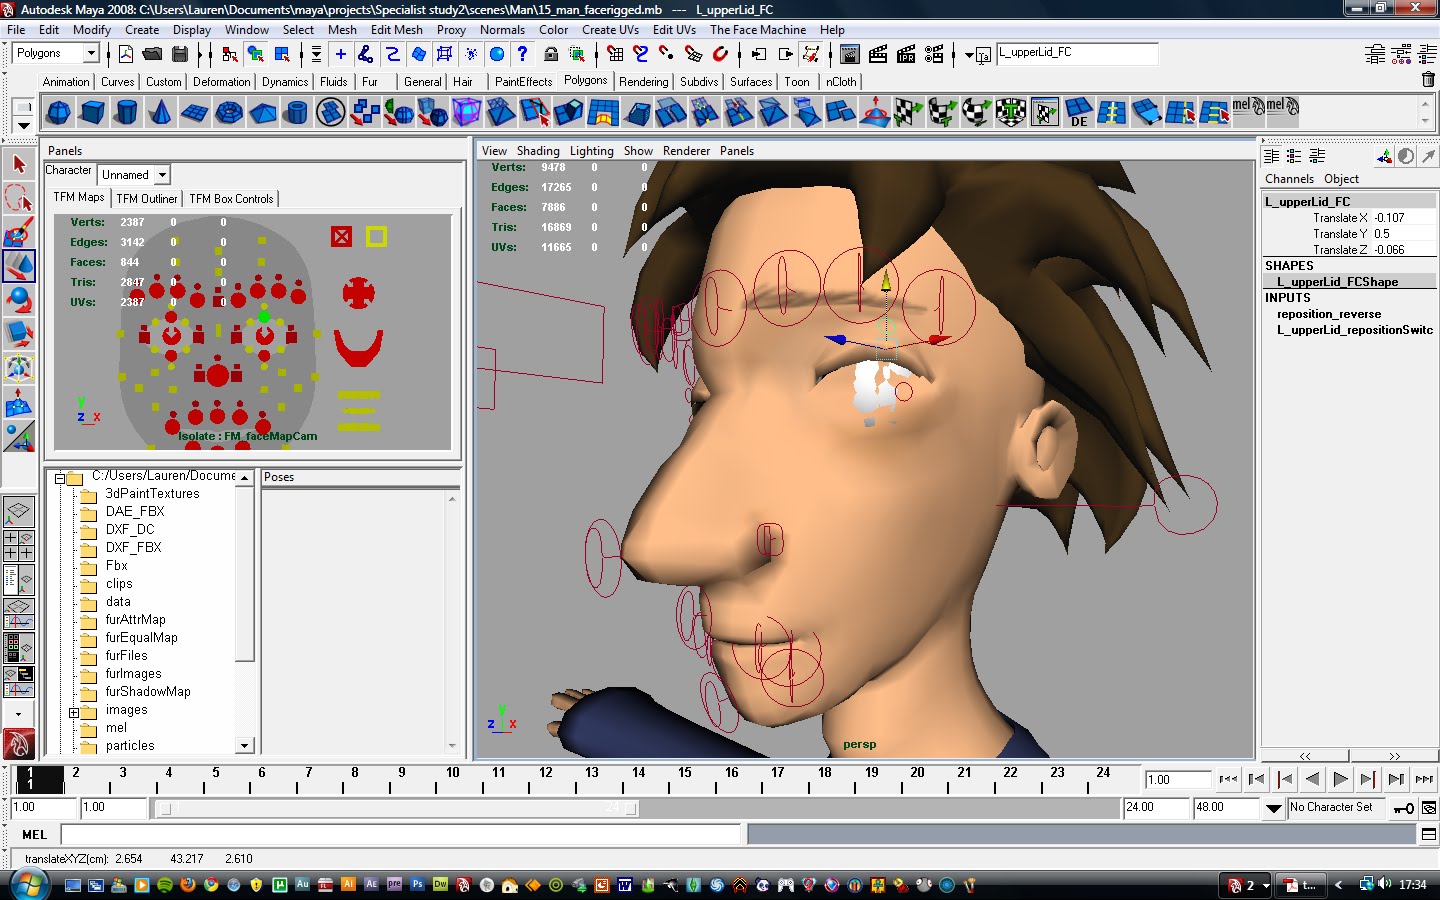
For the eyes I followed this tutorial, the eyeballs are connected to the controller with aim constraints and the eyelids to the eyelid controllers also with aim constraints.


For the mouth I added an extra joint, added the influence to the mesh, parented the joint to the head and painted the weights so that only the bottom part of the mouth is influenced when the jaw is opened.


Some of the weights needed altering on the belly and the legs.


I decided I needed a few more edge loops around the stomach, after adding them and altering the weights, the deformation of the stomach is much better.


I added joints inside the ears and connected them the same way I connected the jaw. I then just displayed the selection handles so that the joints could be easily selected and rotated.


When testing the rig I found that the eyelids played up when rotating the head, I realised that it had something to do with the constraints I'd put on them. Though I'd followed the tutorial, the setup was obviously unsuitable if i couldn't have my cat blink wile his head is rotated.


I fixed the problem by creating driven keys, with the controllers as the drivers (y axis) and the eyelid rotate (x axis) as the driven. The result is much better.

Monday 19 April 2010

Sea Life Centre!

To get reference images and videos for fish, I visited the Sea Life Centre in Birmingham. A lot of the fish there are tropical and exotic varieties, perfect for animation with their bright colours and interesting shapes. It was also a good reference for lighting and rendering for the underwater scenes.


Video references were very useful too, I can't upload them all here but here is one of the best when it comes to both fish movement and underwater caustics.


Observing fish I've realised that they move almost their whole bodies from side to side- not just their tail, to propell themselves forward. I will need to be able to replicate this when I rig and animate any fish that I model.

Friday 16 April 2010

Texturing- Man

I followed the same process as I did when I textured the cat, unwrapping each body part and arranging the UVs to make sure the checkered pattern was even all over, though I enlarged the head in UV space to allow for more space for detail. I took care around the legs to make sure the striped pattern fabric I planed to use wouldn't look strange.


I decided to paint on the creases for the pulled fabric around the waist, keeping the model simple with the detail in the texture.


Like the cat's texture, I edited it in photoshop till it looked the way I wanted it to. Once saved, the photoshop file updates in the maya window once you click reload so I could easily make changes and see how the image looks in 3D.


Final textured man